How can I add a faux fireplace to an apartment in one weekend?
I’ll walk through my weekend method for building a renter-friendly centerpiece that feels real. I plan the build in clear blocks: layout, mounting, finishing, and styling. I pick an electric unit and secondhand mantel for speed.
My goal is low-impact work that moves with me. I use anchors and screws that patch easily. An oscillating tool like the Dremel Multi-Max MM50 makes clean cuts in drywall and trim. Peel-and-stick tile or quick paint finishes keep the mess small.
I choose a focal wall near an outlet or where one can be relocated at the baseboard. That makes wiring for the compact electric stove simple and discreet. I finish with seasonal styling—candles, birch logs, garlands—so the room feels cozy without a real chimney.
Key Takeaways
- I use a clear two-day plan and a short tools list for fast wins.
- Electric-only units and low-impact fastenings keep the build renter-safe.
- Salvaged mantels and peel-and-stick finishes save time and money.
- An oscillating multi-tool speeds precise cuts and reduces mess.
- Portable surrounds and seasonal styling make the space feel finished.
My weekend plan for a cozy faux fireplace you can actually do
I map a two-day plan so the build stays focused and enjoyable. Day One is mounting and structure; Day Two is finishing and styling. This split protects my time and keeps momentum.
What to prioritize: a defined opening, a hint of heat (an electric insert or candle-based fire), and fast finishes that read like stone or brick at a glance. I pick a mantel scale that matches the wall and ceiling so the piece feels natural in the living room or bedroom.

I prep the space by checking for an outlet and confirming anchors or toggles will work in the wall. I dry-fit parts before any screws and use an oscillating multi-tool for clean cuts so patching later is minimal.
- Set a realistic budget: salvaged mantel, prefab surround, or simple DIY box.
- Decide between electric warmth or no-heat ambiance for year-round use.
- Make a shopping list so small items like caulk and tile trim don’t cost extra time.
| Day | Main Tasks | Fast Finish Options | Why it matters |
|---|---|---|---|
| Day One | Mount mantel, build backer, dry-fit insert | Wood backer, screws & anchors | Creates stable structure and keeps the build renter-friendly |
| Day Two | Apply paint or peel-and-stick, install electric unit or styling | Peel-and-stick stone, painted faux brick | Fast visual finish so the piece reads like real masonry |
| Final Hour | Caulk, touch-up paint, quick cleanup | Caulk, trim pieces | Leaves clean edges and minimal move-out work |
Apartment realities: approvals, safety, and smart placement
Before drilling, I always check lease rules and sketch where the mantel will sit on the wall. Getting landlord approval saves headaches later and usually allows screws and anchors if I promise to patch holes.
I aim for studs when possible and use proper anchors when I miss studs. I add a thin, removable wood back panel and a bottom panel so the mantel feels solid but stays portable.

Renter-friendly rules
Keep the project non-permanent. Hardwiring or gas is off-limits in rentals, so I choose electric fireplace units and avoid any fuel-burning setup. I minimize holes and keep a small patch kit—spackle, fine sandpaper, and matching paint—handy for move-out.
Safe zones and smart placement
I respect clearances above and around the opening and follow manufacturer height guidelines. I plan cord runs early, hide cords behind the surround, and sometimes move an outlet to the baseboard (with permission) so the mantel sits flush.
- Secure mantel with screws into studs or heavy-duty anchors.
- Use an oscillating multi-tool for neat cuts that are easy to repair.
- Choose electric-only solutions for safe indoor heat.
For a deeper look at efficient heating options that pair well with small projects, see efficient wood stoves.
Choose your path: salvaged mantel, prefab surround, or a DIY build
Decide whether a vintage mantel, a flat-pack surround, or a trimmed-down DIY will suit your wall and style. Each route has clear trade-offs for time, cost, and permanence.

Salvaged look: mantel + slim firebox illusion
I hunt for a salvaged mantel on Facebook Marketplace, Craigslist, or at local yards. When I score a vintage piece, I check width and height so it fits my wall and ceiling lines.
To sell the vintage vibe with shallow depth, I build a painted wood backer box or use a cast iron summer cover as a faux firebox. One DIYer paired a mantel with a marble slab and a cast-iron cover for authentic charm.
Prefab or flat-pack surrounds: fast focal points
Prefab surrounds assemble in an afternoon and fast-track a fireplace focal point for the living room or bedroom. They arrive cut to size and usually need only screws, clamps, and a level.
Ultra renter-friendly: peel-and-stick panels, wood backer, anchors
For a renter-first plan I use a removable wood back panel, heavy-duty anchors, and peel-and-stick tile or faux brick panels. These parts give texture with zero mortar and come down cleanly at move-out.
- Tip: Dry-fit mantel, hearth line, and backer before fastening to ensure pieces align and the opening is square.
- Pro tip: Plan mantel height around baseboards and outlets; a few millimeters of shimming makes it feel custom.
Weekend-ready tools and materials that speed up the project
My first move is to stage core components in order—mantel, insert, anchors—so assembly flows. Staging saves time and prevents mid-build trips back to the store.

Core list
Gather these before you start.
- Mantel or surround, electric fireplace insert or a shallow firebox box.
- Heavy-duty anchors, screws, a level, and a few wood shims.
- Pre-painted backer board and small trim pieces for final fits.
Fast-finish materials
Peel-and-stick tile, faux brick sheets, primer, and paint speed the visual work. Caulk closes gaps and sharpens lines. A marble threshold or wood cap finishes the hearth look without heavy trades.
Time-saving tools
The Dremel Multi-Max MM50 is my go-to. Its angled head, low vibration, and multiple blades make precise cuts in plaster, drywall, and wood. That helps when moving outlets to the baseboard or recessing a marble hearth.
| Item | Purpose | Quick tip |
|---|---|---|
| Electric fireplace insert | Provides heat or glow without hardwiring | Dry-fit cord route before closing cavity |
| Oscillating multi-tool (Dremel MM50) | Clean cuts in drywall, trim, and wood | Use low speed and the carry bag for neat staging |
| Peel-and-stick tile / faux brick | Fast texture with minimal mess | Pre-paint backer for a seamless edge |
How can I add a faux fireplace to an apartment in one weekend?
My first move is to mark centerlines, dry-fit the mantel, and pre-locate anchors so nothing surprises me.

Day One morning: layout, marks, and securing the mantel
I mark the wall centerline and set the viewing height. Then I dry-fit the mantel and use a level to scribe lines.
I find studs and note anchor points before drilling. I secure the mantel with screws into studs and shim until the fit is gap-free.
Day One afternoon: build the firebox and define a hearth
I cut a shallow opening with an oscillating multi-tool and build a plywood box painted black for the firebox illusion.
For the hearth visual I set a thin marble threshold or a wood cap. If I recess it, I make careful cuts to limit dust.
Day Two morning: finish the insert and surround
I apply peel-and-stick brick or paint the insert in a masonry tone. Then I prime and recoat the mantel for a cohesive look.
Day Two afternoon and final hour: install, style, and tidy
I install the electric fireplace and hide the cord behind the surround, or style a no-heat insert with candles and birch logs.
In the final hour I run caulk at seams, touch up paint, and vacuum so the room looks finished and photo-ready.
Why this rhythm works
Breaking the build into clear parts saves time and stress. I document each step so the same process fits a bedroom or another wall later.
| Day / Time | Main part | Tool | Quick tip |
|---|---|---|---|
| Day One AM | Layout, dry-fit mantel, mark studs | Level, pencil, stud finder | Pre-locate anchors before any screws |
| Day One PM | Cut opening, build black plywood firebox | Oscillating multi-tool, sander | Cut slowly to minimize dust in lived-in rooms |
| Day Two AM | Tile or paint insert, prime mantel | Peel-and-stick, paint roller | Test fit tile on backer before sticking |
| Day Two PM / Final hour | Install electric fireplace, caulk, tidy | Screwdriver, caulk gun, vacuum | Route cord to baseboard outlet for a flush look |
Design finishes that sell the illusion: brick, stone, marble, and paint
Small surface choices transform a shallow surround into something that reads like real masonry. Texture, color, and edge details convince the eye more than heavy construction.

Faux brick or stacked stone for texture without the mess
I pick peel-and-stick faux brick when I need classic texture fast. I score seams lightly so the pattern looks worn and more authentic after paint.
For a modern vibe I use stacked stone panels. Tight seams and a matching caulk hide edges so the finish reads like real stone.
Marble or painted hearth ideas that sit flush and look custom
Setting a marble threshold at the base makes the whole surround feel finished. I match slab thickness to the floor so the hearth sits flush and intentional.
When marble is too heavy, I paint the insert deep charcoal or matte black to imply depth. That small contrast helps the opening read as real even when the cavity is shallow.
Shiplap, storage, and mantel styling for year-round living
Shiplap above the opening brings vertical rhythm and ties to nearby trim lines. I stop the board at a consistent height so the mantel feels placed, not floating.
Built-in storage or simple flanking shelves give the surround visual weight. Keep mantel styling minimal: centered art and two small groups at each end so the fireplace remains the hero of the room.
- Tip: Test paint samples on scraps to nail the undertone for your space.
- Tip: Step back from the primary seat and check height and scale before final fastening.
Seasonal magic: stockings, candles, and electric fireplace ambiance
A simple swap of decor turns the mantel into the room’s most welcoming place overnight. I treat the surround as the natural place to rotate seasonal accents so the whole living room feels fresh.

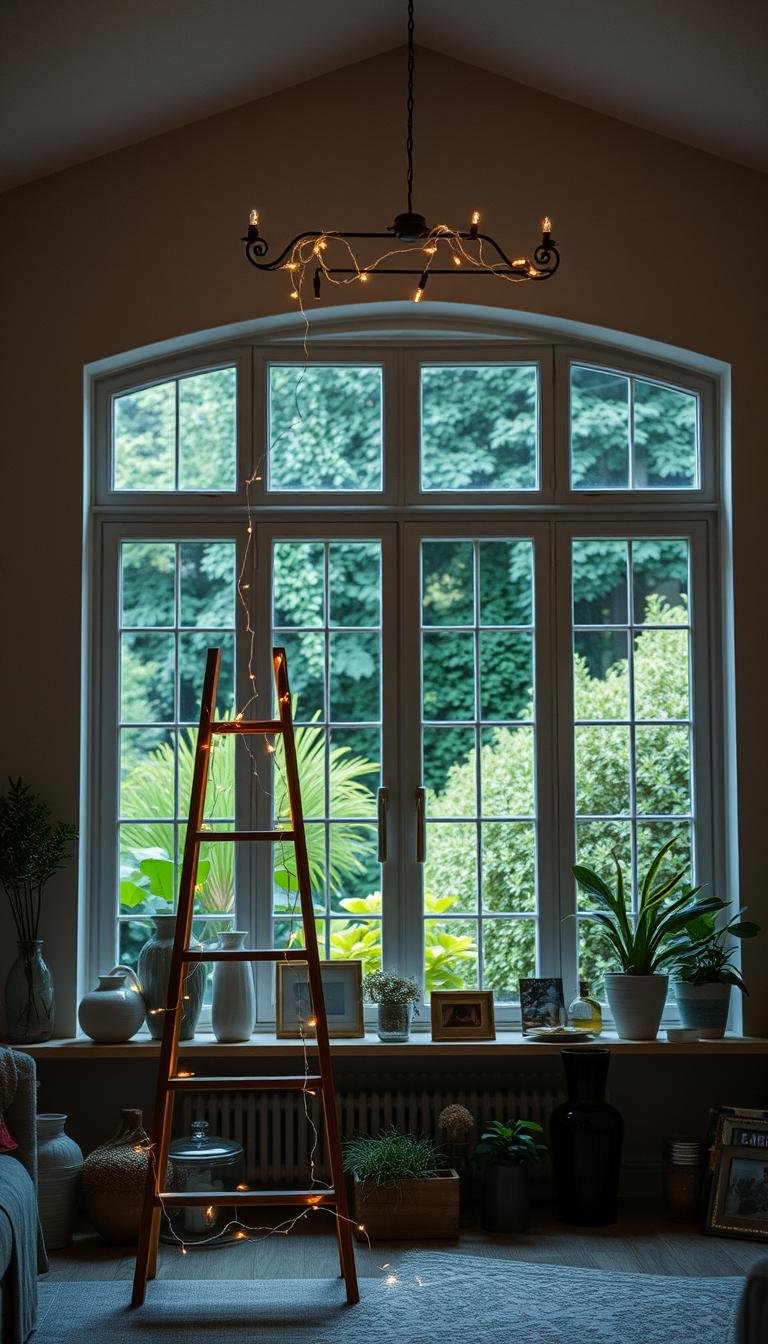
Holiday-ready: stockings, garlands, birch logs, and fairy lights
For holidays I hang stockings on removable hooks, drape a simple garland, and tuck a tidy stack of birch logs into the opening.
I layer LED fairy lights around the logs or candles for a soft, fire-like glow that stays cool and safe.
“The mantel becomes the favorite place to celebrate each season.”
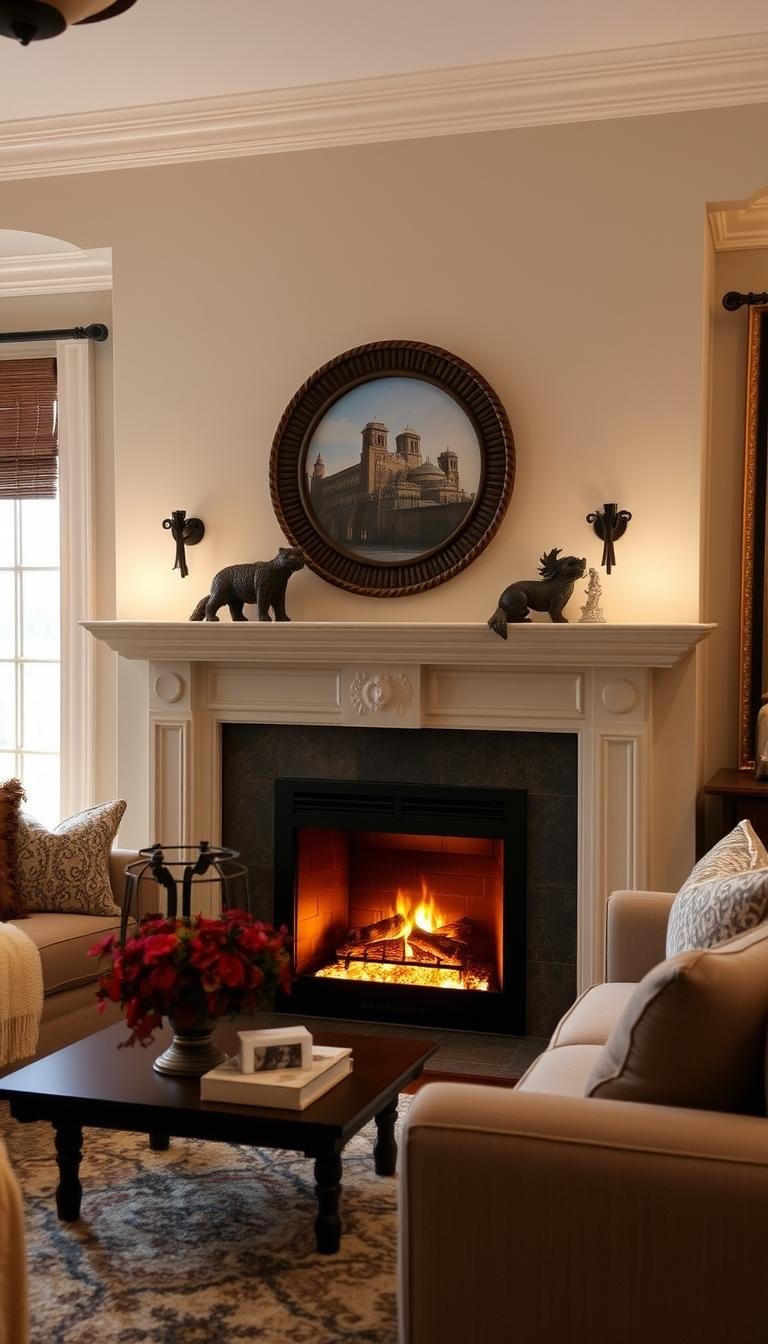
Everyday decor: mirrors, art, and plants to complete the focal wall
On regular days I keep styling simple: a mirror or art centered above the mantel, a plant at one end, and a small stack of books or a candle at the other.
- I use low-heat or LED candles for tight bedroom or living spaces.
- Cord clips hide cables behind the surround so nothing distracts from the focal place.
- I store seasonal things in a small bin nearby for quick swaps.
Pro tip: stick felt pads under decor to protect painted shelves and make restyling fast. This simple part of styling keeps the DIY faux surround looking loved year-round.
Conclusion
A simple focal feature lifts the whole room and makes a modest house feel intentional. With a salvaged mantel, prefab surround, or a tight DIY box, the wall becomes the anchor for daily life.
I chose renter-friendly fasteners, peel-and-stick surfaces, and an electric fireplace or styled firebox so the piece stays portable and moves with me. One or two finishes—brick, stone, or a marble threshold—give the look real presence.
Expect a couple small surprises during the process: a shim here, a paint touch there. Live with the height for a day, tweak tiny things, then rotate decor seasonally. This project proves a custom feel is possible with smart parts, simple tools, and one focused weekend.
Next post idea: TV integration, flanking shelves, or a full stone surround upgrade when ready for the next part.