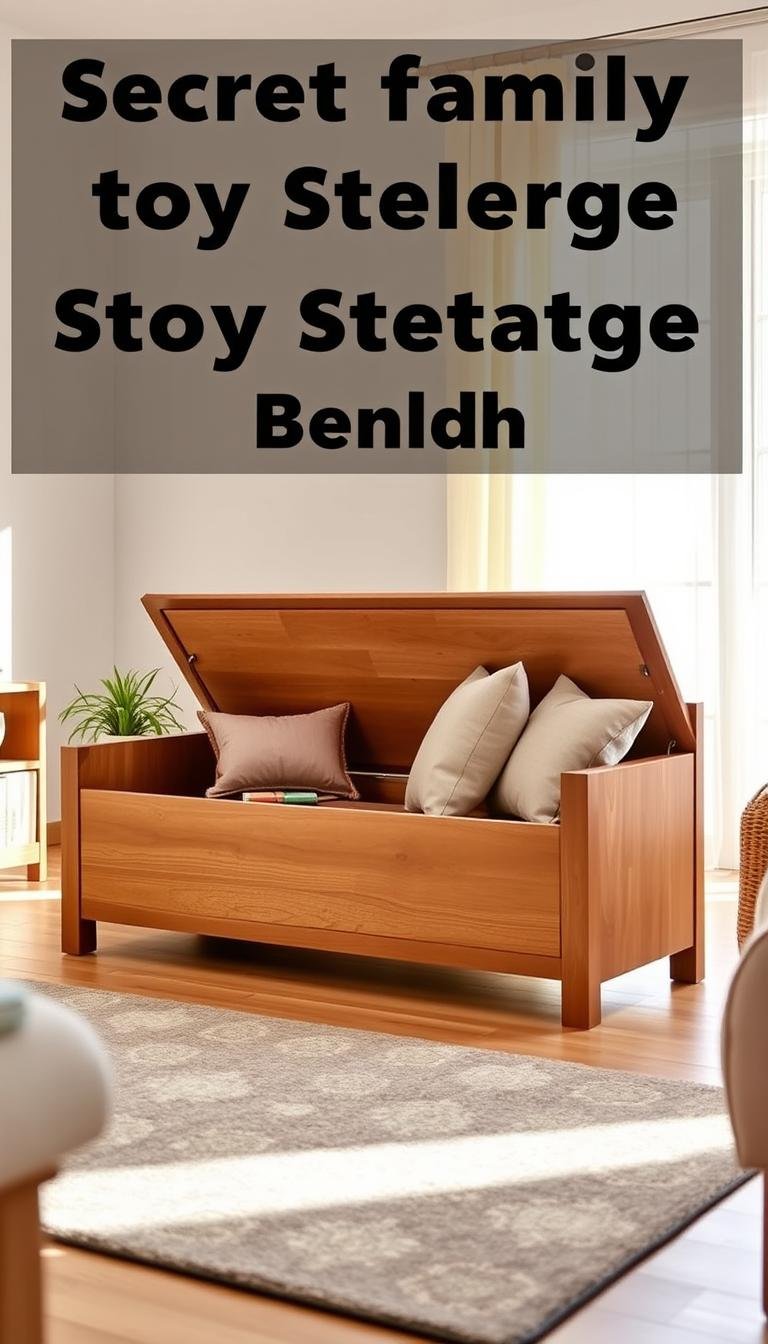
What are the top peel-and-stick tiles that actually last in a bathroom?
I tested popular stick options so you get a straight, no-fluff answer on which products hold up under real bathroom use.
I worked with Auliget Faux Stone, Smart Tiles Metro, Sunwings Stone Composite, JCampbell Floor Appliques, and Style Selections Graphite Stone LVT. I focused on durability, moisture handling, long-term adhesion, ease of cutting, and final look.
My trials used small installs, about three hours each, with center-out layouts and firm rolling to push adhesion. I also tried painter’s tape under thick pieces to protect drywall during future removal.
Below you’ll find a clear lineup—best overall, best for walls, best floor pick, heat-tough choices, and the budget winner—plus realistic notes on price vs. performance so you can match style and cost to your project.
Key Takeaways
- Real tests matter: I judged each option by water exposure, foot traffic, and removal effects.
- Best balance: One pick blends look, adhesion, and easy cutting for most home projects.
- Floor vs. wall: Some products suit backsplashes while others handle rolling chairs and showers.
- Prep helps: Center-out layouts and firm rolling improve long-term stick.
- Budget options exist: You can save without sacrificing wet-room durability if you choose wisely.
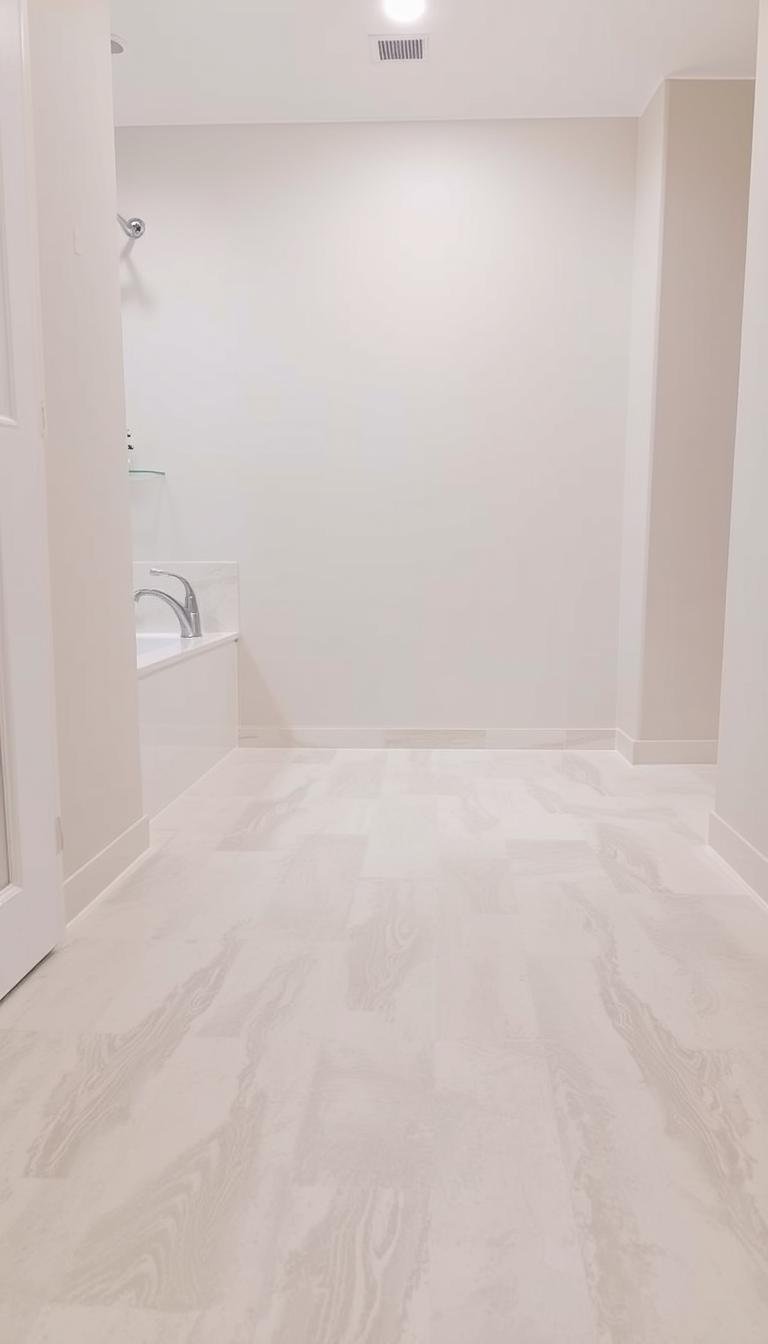
Why peel-and-stick tiles make sense for bathrooms today
Advances in vinyl and adhesive tech changed how I view quick bathroom updates. Modern stick tiles use improved vinyl composites and more water-resistant glue, so humidity and occasional splashes are less of a problem than years ago.

I recommend these surfaces for refreshing walls, backsplashes, and powder rooms. They also work for small floor areas if you pick the right product and install carefully. For many DIY projects, a full room facelift runs a few hundred dollars, not the $10,000+ a remodel can reach.
Know the limits: waterproof and water-resistant variants exist, but most stick tile options are not meant for constant, direct shower use. Heat and steam near vanities and vents still demand better adhesives and hotter-rated vinyl tile choices.
- Renters benefit: easy install and cleaner removals when you prep right.
- Budget tiers: Budget ($1–$2.50/sq ft), Mid ($2.50–$5), Premium ($5+).
- Why vinyl wins: easy cutting, good look-to-cost balance, and solid moisture handling for most bathroom zones.
Bottom line: For a fast, cost-effective home improvement, stick tiles give you style and function without a major renovation. With the right prep and simple care, a good install will hold up far longer than older peel-and-stick products.
What are the top peel-and-stick tiles that actually last in a bathroom?
I tested five common stick products and ranked them by real use: cutting, adhesion, water exposure, and heat. Below I highlight where each product shines and its main tradeoffs so you can match design and performance to your space.

Best overall pick for durability and ease: Auliget Faux Stone Peel & Stick
Auliget stood out for easy cutting thanks to thin PVC and a strong foam adhesive backing.
Edges can show less adhesive, so firm rolling helps. Water beads on its surface, which guarded looks during testing.
Best bathroom wall and backsplash longevity: Smart Tiles Metro
Smart Tiles Metro uses a thin vinyl gel that cuts cleanly and repositions well during installs.
The gel finish can feel slightly plasticky and greasy after splashes, but adhesion stayed reliable.
Best floor staying power: JCampbell Floor Appliques vs. LVT options
JCampbell is very thin, easy to reposition, and held up to water, pets, and foot traffic in my trials.
For budget floor value, Style Selections Graphite Stone LVT (about $1.60/sq ft) cut easily and resisted chair wheels, though it was a touch slippery.
Sunwings Stone Composite handled heat and splashes well, but its thick, semi-permanent sheets were hard to cut and removed drywall finish on pull-off.
- Auliget: best balance of cutting ease and adhesive strength.
- Smart Tiles: ideal for frequent splash zones on walls.
- JCampbell: strong quick-floor option for spot repairs.
- Style Selections: budget-friendly LVT that looks sharp.
- Sunwings: choose when heat resistance matters; expect tougher installs.
| Product | Best Use | Key Tradeoff |
|---|---|---|
| Auliget Faux Stone | Walls, backsplashes | Edge adhesion can be lighter |
| Smart Tiles Metro | Wall splash zones | Plasticky gel finish |
| JCampbell Floor Appliques | Quick floor fixes | Less realistic finish |
| Graphite Stone LVT | Budget floors | Slight slipperiness |
| Sunwings Stone Composite | Heat-prone areas | Hard to cut; semi-permanent |
How I choose tiles that survive moisture, heat, and daily wear
I pick materials by how they stand up to steam, heat, and daily traffic.

Material and build: Vinyl, LVT, and SPC differences
I favor vinyl for easy cutting and quick installs, while LVT balances cost and comfort. SPC/WPC rigid cores resist dents and hold up better to moisture.
Tile thickness, wear layers, and lifespan
Thicker tiles and 20+ mil wear layers last longer but cut harder. Thin options cut cleanly and can look realistic, yet they wear faster under heavy use.
Adhesive quality and real-world adhesion
Adhesive choice matters. Lighter glue helps repositioning on walls. Heavy-duty adhesive locks down under heat and in humid rooms.
Waterproof vs. water-resistant: safe bathroom use
Most stick tiles are water-resistant, not for direct shower spray. I seal edges near tubs and fill grout lines and low spots. Primer on concrete improves long-term adhesion.
| Material | Best Use | Cut Ease | Durability |
|---|---|---|---|
| Vinyl | Walls, small floors | Easy | Moderate |
| LVT | Budget floors | Moderate | Good |
| SPC/WPC | Moist, heat-prone areas | Harder | High |
| Ceramic/Porcelain | Waterproof zones (not shower floor) | Hard | Very High |
Best Overall: Auliget Faux Stone Peel & Stick Tile
My top pick matched a stone look with easy installs and reliable hold. I liked that it comes in interlocking sheets; the seams read tidy when I took time to align the teeth.

Why it lasts: strong adhesive foam backing and easy, clean cuts
The thin PVC face scores and snaps cleanly, so I spent less time cutting and felt less installer fatigue on long runs. For the straightest edges I score both the front and the backing before snapping; this yields crisper corners and less fuzz.
The foam adhesive gripped well in my humidity tests, keeping the surface flat through daily wipe-downs and humid mornings. One caveat: very small filler pieces may lack full adhesive coverage, so I add a dab of extra sealant on micro-cuts.
Where it shines: walls, backsplashes, fireplace surrounds; bathroom-safe use
I used these stick tiles on backsplash and bathroom wall test areas. Water beaded on the finish and wiped away without softening or lifting around seams.
- Design: realistic stone look without grout hassle.
- Price: solid value for the finish and performance.
- Use: ideal for walls and feature surfaces; avoid constant shower-floor exposure.
For more picks and detailed comparisons, see this concise guide on similar products: best peel-and-stick options.
Best for Bathrooms: Smart Tiles Metro Vinyl Peel & Stick
Smart Tiles Metro stood out during my wall tests for its thin vinyl gel and forgiving adhesive.

Water resistance, easy repositioning, and thin vinyl for precise cuts
The thin vinyl face cuts clean with moderate pressure, which makes tight corners and switch plates simple to trim. I could score and snap small pieces without mangling edges.
The adhesive lets you float pieces and nudge them into exact alignment before final contact. That reposition window means seams meet neatly and patterns stay true across walls.
Daily splashes and humidity didn’t lift panels during my trial. The glossy 3D finish produces a bright subway look, though up close it can read a bit plasticky.
- Easy cuts: utility knife friendly for fast installs.
- Repositionable adhesive: forgiving for first-time installers.
- Water-resistant gel surface wipes clean; gel may feel slightly greasy until dried.
- Design: crisp, bright bathroom-ready finish in roughly 8.38 × 11.56 inches.
If you want a friendly stick tile for walls that balances look and practicality, this one is a solid, low-risk pick.
Best for Kitchens and heat-prone areas near baths: Sunwings Stone Composite
Sunwings Stone Composite proved its strength when I placed samples near ovens and radiators during testing. Its engineered stone build tolerates warm, steamy conditions that would challenge thinner options.

Heat resistance and a thick profile make this stick tile ideal near vents, ranges, and heated bathroom walls. The material shrugged off oven-side splashes and held flat through repeated warm cycles.
Cutting takes patience. The extra thickness resists a quick knife pass, so I used a sharp blade and metal straightedge for clean cuts.
“A light soapy mist during placement lets you nudge panels for perfect alignment,” I noted during installs.
One tradeoff: once the adhesive cures it behaves semi-permanently. Removal can tear drywall paper, so treat placement like permanent tile.
- Best use: backsplashes, ventilation-adjacent walls, and kitchen zones with heat exposure.
- Finish: matte face with faux grout—durable but less photorealistic up close.
- Installation tip: plan extra time for cutting and alignment to protect adhesion and surface results.
| Feature | Benefit | Tradeoff |
|---|---|---|
| Heat tolerance | Stable under warm conditions | Thicker, harder to cut |
| Adhesion | Semi-permanent hold | Harder to remove cleanly |
| Surface | Durable matte look | Less realistic up close |
Best for Floors in moisture-prone rooms: JCampbell Floor Appliques
For active floors that face splashes and pet traffic, JCampbell Floor Appliques proved the most forgiving and repair-friendly option I tested.

These are thin, printed vinyl squares designed for easy coverage and quick updates. I liked how large sheets sped up installs while still letting me trim neatly at edges and thresholds.
They cut cleanly, even after partial adhesion, so trimming around trim or vents felt controlled and fast. The finish is clearly patterned rather than trying to mimic ceramic, which keeps expectations realistic.
Why they hold up: flexible vinyl, spot repairs, and strong surface results
In my wet-room tests, JCampbell handled water splashes and everyday wear from pets without scuffing or lifting. That was impressive for such a sticker-thin product.
Flexibility and repositioning made layout forgiving—if a panel bubbled I could lift, smooth, and reseat it without ruining the adhesive.
- I could align appliques to old grout lines for a tailored look.
- Spot fixes are simple: warm, peel a corner, swap one tile, and you’re done.
- They perform well on bathroom floors for short-run projects and playful designs.
“The sticker-like construction turns what would be a multi-hour repair into a five-minute touch-up.”
Best Budget per square foot: Style Selections Graphite Stone LVT
On small bathroom floors, one affordable LVT consistently delivered a clean, cohesive result in my tests.

Style Selections Graphite Stone LVT runs about $1.60 per square foot, which keeps a remodel firmly in the budget range without a cheap look.
Realistic look, durability versus cost, and traction notes
I liked the 18-inch format for fast coverage; large squares cut install time and let me pre-lay pieces to lock in grain direction before committing the adhesive.
Cutting was easy with a sharp utility knife. The printed shading and light texture read very realistic at a glance for the price.
- Value: about $1.60 per square foot keeps price low per square on small runs.
- Durability: handled rolling chair wheels in my trial with minimal wear.
- Traction: slightly slippery when wet—add a bath mat to improve safety.
- Tip: large tiles mean more trimming in tight areas; plan layout to cut waste.
| Feature | Data | Note |
|---|---|---|
| Approx. price | $1.60 per square foot | Great budget option |
| Size | 18-inch squares | Fast coverage, more cuts near edges |
| Traction | Moderate | Use mats where wet feet frequent |
Bottom line: For low cost and a convincing finish, this vinyl tiles choice trades a bit of grip for strong value. It’s my pick when budget and speed matter most.
Price and value: what to expect per square foot and how to compare options
I tracked real costs so you can plan a sensible budget before shopping. A clear per square foot number makes it easier to compare finishes and avoid surprise expenses.

Budget, mid-range, and premium tiers
Typical tiers: Budget: $1–$2.50 per square foot; Mid-range: $2.50–$5; Premium: $5+. Many peel stick floors sit between $0.50 and $5 per square foot in the market.
| Tier | Per square | When to pick |
|---|---|---|
| Budget | $1–$2.50 / square foot | Small areas, quick refreshes |
| Mid-range | $2.50–$5 / square foot | Best balance for most bathrooms |
| Premium | $5+ / square foot | Thicker cores, heavy use, heat zones |
Cost factors beyond the box
Count tools and prep when you tally total cost. Add primer for concrete, patch or self-leveler for dips, a J-roller, fresh blades, and at least one extra box for future repairs.
- Waste: complex layouts add cuts and extra square foot material.
- Acclimate: a 48-hour acclimation prevents expansion surprises.
- Value note: premium options buy thicker cores, stronger adhesives, and better wear layers—use them where heat or heavy traffic demands it.
Quick buying mindset: define must-haves (heat tolerance, floor vs. wall use, easy removal) then price two or three options that meet those needs. That narrows choices and keeps final price predictable.
Installation and maintenance that extend tile life in bathrooms
Good installation habits make the difference between a short-lived update and a bathroom that holds up for years. This short installation guide covers surface prep, pro moves during installs, and a care routine that preserves look and adhesion.

Surface prep that boosts adhesion
I start with the surface: I fill grout lines, skim low spots, and prime slick or concrete areas so tiles bond evenly. A clean, flat substrate prevents bubbles and keeps pieces flat through humidity swings.
Pro install moves
My layout habit is center-out. I snap square lines, dry-fit a full row, then peel and place. That way cumulative errors disappear.
I use a J-roller to lock panels for full adhesion and a fresh blade for clean cuts. Allow a 48-hour acclimation so size is stable before you begin.
Care routine that extends life
For daily care I use pH-neutral cleaners and avoid steam mops. Wipe spills promptly and seal critical edges at tubs and toilets with a watertight bead to keep water from wicking into seams.
- Quick fix: warm a lifting corner with a hairdryer, clean, and reseat or replace a single tile.
- DIY tip: use furniture pads and avoid abrasive cleaners to protect the finish.
- Final tip: plan layout, prime where needed, and roll firmly—these small steps add years to most stick projects.
Conclusion
,Durability came down less to brand names and more to matching each product to its job and installing it well.
I pair picks to needs: Auliget for all-around performance, Smart Tiles Metro for wall and backsplash areas, JCampbell for floors and easy spot repairs, Style Selections when budget matters, and Sunwings where heat resistance is required.
For long life, prep the surface (fill grout lines, prime slick areas), lay center-out, and roll firmly. Use pH-neutral cleaners, avoid steam, and spot-replace worn pieces. Choose a tile that fits the room and follow simple installation steps for the best look and lasting wear.
If you take one thing with you: the right tile in the right place, installed the right way, is how this improvement pays off.