How can I soundproof French doors on a rental budget?
I set a realistic goal: I won’t rebuild the door, but I will reduce noise by focusing on renter-safe fixes that close air leaks and add removable mass. Small improvements often add up to a meaningful barrier for my room.
My plan starts with quick tests and easy wins. At night I switch off lights to spot leaks, then add peel-and-stick perimeter seals and a draft stopper at the bottom gap. These steps improve sound and help with temperature control.
I prioritize the weakest points: the perimeter, the bottom seam, and the gap between the two leaves. If the doors include a window section, I’ll use temporary window-style inserts or heavy curtains to add mass without drilling holes.
This approach is practical: renter-friendly materials, layered solutions, and simple measurement with a decibel app let me see real progress now and upgrade later if needed.
Key Takeaways
- Focus on sealing gaps and adding removable mass for the best results.
- Start with a light-leak test, then apply weatherstripping and a draft stopper.
- Use temporary window inserts or heavy curtains if doors have glass panels.
- Layer small fixes rather than expect one single solution to stop all noise.
- Choose renter-safe materials that remove cleanly and document before/after changes.
Why I’m soundproofing my French doors right now
Right now my top priority is quieting the main entry that leaks the most sound into my workspace. Street and neighbor noise peaks during work hours and again at night, so I’m carving out time this week to make sure that area stops acting like a megaphone into my room.
Doors often let more noise through than walls, so I’m focusing here first before chasing smaller problems elsewhere in the home. The same fixes that cut sound also help stabilize temperature in the room, which is a welcome bonus for comfort and utility bills over time.
With French doors, most of the leakage comes from the perimeter and the meeting line between the two leaves. Targeting those spots is the most efficient way to reduce sound without major changes or replacing slabs I can’t swap out in a rental.
I’ll do the work in daylight so I can test daytime street noise and evening neighbor noise for a fair comparison. If the doors include window panes, I’ll treat those window sections too so the whole opening behaves the same way.
This plan protects my deposit, improves daily life, and gives me a repeatable method to upgrade other noisy spots later.

Understanding where the noise gets in and out
I begin by turning off every light and scanning the trim for tiny pinpricks of glow.
Simple detection gives fast wins. A dark-room check shows light and often the same paths that let sound and air through.
Simple tests: light leaks, candle flicker, and touch-for-vibration
I hold a lit candle near suspect seams. If the flame flickers, moving air is making that gap a conduit for sound.
I press my fingers along the frame and the meeting stile to feel vibrations during peak traffic. That helps me find hidden weak points.

Mapping weak spots: around the frame, bottom gap, and between door leaves
- I mark light leaks and note which gaps whistle or move the flame.
- I sketch a simple map of leaks by the trim, the bottom seam, and the seam where the two doors meet.
- I listen during busy and quiet times to score each spot by impact on room quiet.
“Even small leaks around the frame add up; mapping them tells you where to start and where to layer fixes.”
| Leak Location | Common Sign | Priority |
|---|---|---|
| Perimeter trim | Light glow, drafts | High |
| Bottom gap | Largest opening; audible rumble | Highest |
| Meeting stile | Thin seam; voices pass | Medium |
| Glass panels near wall | Echo, clear transmission | Medium |
The two big principles: close air gaps and add mass
My approach rests on two clear tactics that follow basic physics. First, stop airborne paths that act like highways for sound. Second, add heavy material so waves lose energy when they hit the surface.
Closing gaps to stop sound transmission in air
Sealing cracks matters more than many realize. A single unsealed edge lets air carry sound right into the room.
I rely on compressible perimeter seals and door sweeps to create a continuous barrier and to slow transmission through the frame.
Adding mass to reduce sound waves passing through the doors
After sealing, I add mass to the slabs so sound waves meet resistance. Dense panels, MLV-backed options, or heavy blankets make the door faces harder to move.
For renters, peel-and-stick seals and removable panels let me layer fixes without damage. I treat both leaves so the whole opening works as one barrier.

“Seal first, then add mass — that one-two punch gives the best reduction per dollar.”
| Step | Primary Action | Renter-safe Option |
|---|---|---|
| Close air paths | Perimeter seals, compressible gaskets, sweeps | Peel-and-stick weatherstripping |
| Add mass | Removable panels, MLV, heavy quilts | Hanging blankets or MLV-backed panels |
| Treat both leaves | Match sealing and mass on each slab | Dual panels or mirrored blankets |
For extra reading on techniques, I link to a trusted guide about soundproof a door.
Renter-friendly gap sealing around the door frame
I focus on the head and jambs because a tight perimeter gives the biggest return for little work. Small, targeted fixes stop most transmission without changing hardware. I use removable materials so the landlord never has to know I made improvements.
Peel-and-stick weatherstripping and adjustable perimeter seals do the heavy lifting. I pick high-density tape or a Quiet Door Adjustable Perimeter Seal to compress evenly along the frame and both leaves. After measuring twice, I cut tidy corners, press firmly, and close the door to check contact.

Acoustical caulk alternatives and quick checks
- I run the flashlight test to find tiny gaps, then fill hairline cracks with a removable acoustical caulk substitute.
- I avoid over-compressing the latch so the door still closes smoothly.
- Color-match gasket tape for a neat look that removes cleanly when I move out.
“Seal both leaves evenly so contact lines meet and the room gains consistent pressure.”
| Option | Best use | Renter-safe? |
|---|---|---|
| Peel-and-stick gasket | Head and jambs; easy install | Yes |
| Quiet Door adjustable seal | Seasonal tweakability; tight compress | Yes |
| Removable acoustical caulk | Hairline cracks at trim and window seams | Yes |
Fixing the biggest leak: the bottom door gap
I start at the sill because that low gap usually admits the most noise and draft. The space at the bottom is often larger than the sides, so treating the bottom gives the quickest improvement in my room.
Brush and silicone door sweeps work well on hard floors. I fit a silicone or soft-bristle sweep so it rides close to the floor without snagging. After installation I use a flashlight outside to check for any glow under the door.
Automatic drop-down sweeps lower when the door closes and lift when it opens. They give a snug seal without dragging and help daily usability while cutting sound transmission.
On carpet, a fixed threshold often helps more than a sweep. A raised threshold gives the sweep something solid to press against, and some thresholds form a double seal with a sweep for best results.

- I cut sweeps to fit between the side rails so both doors close cleanly.
- I avoid stiff bristles that scrape the floor; a smooth sweep reduces noise while keeping operation easy.
- I confirm fasteners are removable or use pre-existing holes to protect my deposit.
| Sweep type | Best for | Renter-safe? |
|---|---|---|
| Silicone/brush | Hard floor | Yes |
| Automatic drop-down | Wood or laminate floor | Yes |
| Threshold + sweep | Carpet | Yes |
“Treat the sill first; small tweaks here make the largest audible difference.”
How can I soundproof French doors on a rental budget?
I treat the pair as a single barrier and focus first on the joint where noise pushes through.
Sealing the meeting line between the two leaves
The center seam matters most. I install a removable astragal or paired compression weatherstrip so air and sound stop leaking down the middle.
I work one leaf at a time, then close both to check alignment and compression before the adhesive sets.
Astragal seals and compression options
Sound-lock double-door kits often include an astragal plus a drop-down seal. Paired with airtight perimeter tape, this approach can add up to 20 STC points, especially on solid-core units (STC ~30–35 vs hollow ~20–25).
Perimeter seals and drop-down sweeps sized for both slabs
I match gasket density around the frame and fit coordinated sweeps at the bottom so the centerline near the floor isn’t a weak spot.
- Seal the meeting line with an astragal or paired strips.
- Install perimeter gaskets that compress evenly.
- Use coordinated drop-down sweeps or one continuous threshold at the bottom.
- Check latch and head for tiny gaps and close them with thin, high-density tape.
“Treat the joint first, then seal the edges; the whole opening performs better as one unit.”

Adding mass without replacing the doors
Adding weight to each panel changes how much vibration passes through the opening. This is about bringing more mass to the face so incoming sound has to work harder to move the slab.

Removable acoustic panels are my first pick. Foam or fabric-wrapped composites attach with heavy-duty removable strips to avoid holes. They cut the amplitude of sound waves and give a neat finish.
Removable acoustic panels and MLV-backed options
For higher blocking, I use MLV-backed panels. They are dense and utilitarian but very effective. Adhesive strips or magnetic mounts keep them reversible.
Soundproof blankets and thick quilts hung with removable hooks
A dense blanket or quilt offers a flexible choice. I hang it with suction or removable hooks and take it down when I need clear access. Overlap seams near the meeting line so thin spots don’t leak.
- I add mass to each leaf with panels or MLV-backed sheets.
- Choose higher-density materials rather than thin foam when reduction matters.
- Keep a small reveal at the handle so the latch works while maximizing coverage.
“Layering mass over good seals multiplies the reduction without any permanent changes.”
| Option | Mass impact | Materials | Renter-safe? |
|---|---|---|---|
| Fabric-wrapped panel | Medium | Composite foam + fabric | Yes (removable strips) |
| MLV-backed panel | High | MLV + board | Yes (adhesive strips or magnets) |
| Soundproof blanket | Medium–High | Fiberglass quilted blanket | Yes (hooks/suction) |
This layered approach works with seals and sweeps for a practical, renter-safe solution that cuts both sound and noise transfer.
Using soundproof curtains the right way
I use heavy, multi-layer thermal/blackout curtains as a large-area treatment that adds visible mass and helps absorb sound in the room.

Choosing dense, multi-layer panels
Pick panels with several dense layers so they act like added mass and cut reflections. Mount the rod 3–4 inches above the frame and make the panels wider than the opening.
Covering beyond the frame and sealing top and sides
Extend each panel well past the jambs so sound and light don’t slip around the edges. Overlap the center seam and add a small Velcro or magnet strip to improve the seal.
- Pull the panel to the wall with return hooks so it hugs the surface and avoids ballooning.
- Let the hem kiss the floor to close the channel without creating a trip hazard.
- Match curtain height at nearby windows so the whole wall looks intentional and performs better.
For best results, combine curtains with removable door-mounted panels. This layered approach improves blocking and boosts in-room comfort by taming sound waves and reducing residual noise.
“A wide, dense curtain often gives more immediate noise payoff than fiddling with small seals.”
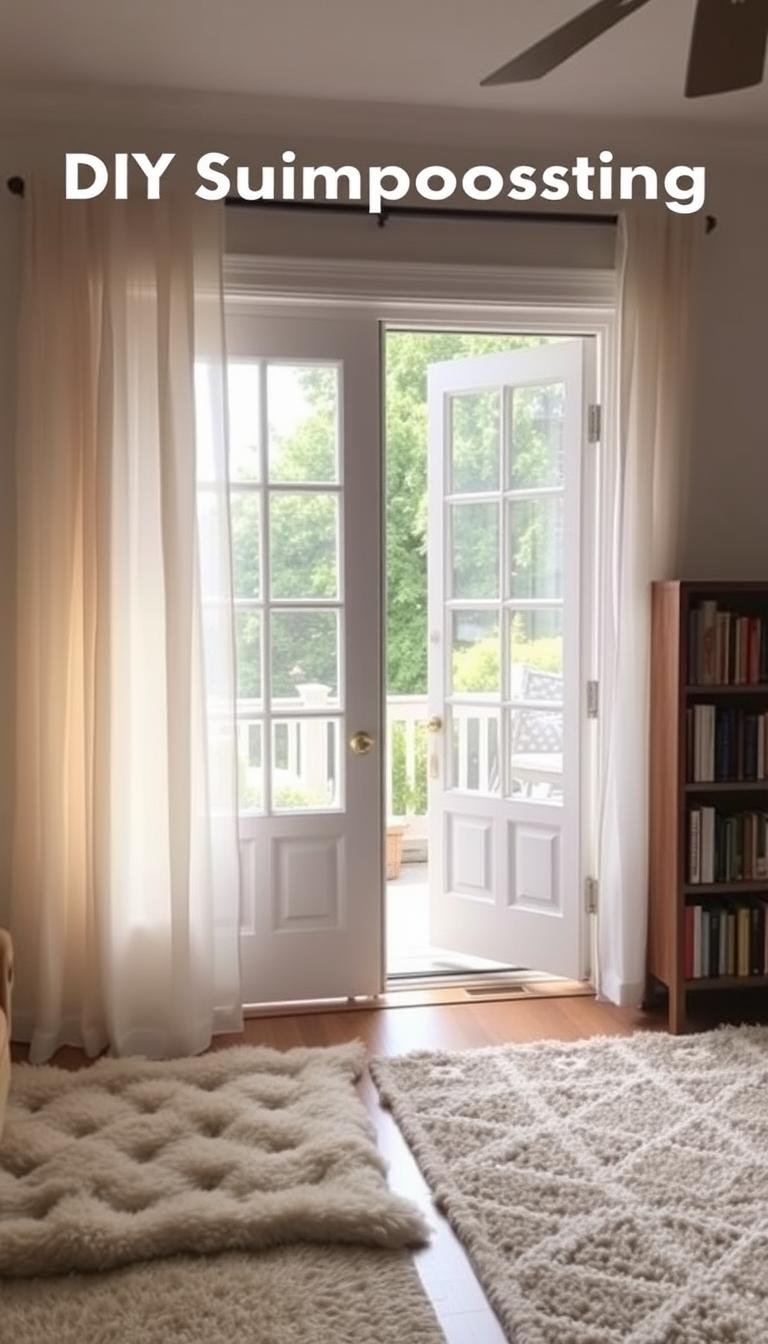
If my French doors have glass: window-style strategies
When glazing is present, I use clear panels to turn each pane into a mini double-glazed unit. This keeps light and view while cutting the worst outside sound.
Temporary acrylic inserts fit inside the stops to create a trapped air gap that lowers sound transmission through the window area. I measure each section carefully so the fit is snug on the first try.

- Mount inserts with magnetic strips or compression tubing for a clean, removable seal.
- Clean the frame, then add thin weatherstripping tape at the edge to reduce rattles and improve the airtight barrier.
- Press along the perimeter; if there is buzz or air movement, increase compression to tighten the fit.
- Keep existing curtains in place over inserts to add mass and tame reflections.
- For multi-lite units, treat the largest windows first for the biggest impact per panel.
“A clear insert buys you daylight and a quieter room without changing the door.”
| Method | Mount | Effect on sound |
|---|---|---|
| Clear acrylic insert | Magnetic strips / compression tubing | High for mid/high frequencies |
| Weatherstrip edge | Thin adhesive tape | Reduces rattle; improves seal |
| Curtain overlay | Hooks or rod | Adds absorption and mass |
Small upgrades that add up in a rental
Small reversible changes often produce the biggest audible gains for the least cost. I keep this in mind when I need fast, renter-safe fixes that won’t risk my deposit.
Double-sided draft stoppers are my first go-to. I slide one under the bottom of each leaf to reduce airflow and immediate noise from the street. It’s an easy install and works well when I can’t fit a permanent sweep right away.

Double-sided draft stoppers at the bottom
I stash a spare stopper for guests or peak-noise times so I can reinforce the bottom fast. These units are reversible and travel with me when I move.
Pipe insulation foam for fast, reversible edge sealing
I cut foam pipe insulation to close tiny gaps around the latch side and frame. It compresses gently, blocks drafts, and removes cleanly when I need full clearance.
“Layering small measures like foam strips and stoppers multiplies effectiveness without permanent changes.”
- I slide a double-sided draft stopper under the leaves to quickly reduce under-door air flow, especially when I can’t install a sweep immediately.
- I cut foam pipe insulation and press it gently along edges to close temporary gaps around the latch side, then remove it during the day if I need full clearance.
- I combine these with weatherstripping for a layered seal that improves performance without tools.
- I keep adhesives mild and test on a hidden area to confirm they won’t mar paint or finish.
- I check that nothing interferes with the latch and hinges; smooth operation matters in daily use.
- These methods are affordable options that add up, especially when paired with curtains and panels.
| Option | Primary benefit | Renter-safe? |
|---|---|---|
| Double-sided draft stopper | Reduces under-door noise and draft; instant install | Yes (removable) |
| Foam pipe insulation | Fills thin gaps around edges and latch side; reversible | Yes (cut-to-fit) |
| Mild adhesive weatherstrip | Creates a longer-term seal with minimal surface risk | Yes (test first) |
My way: combine low-cost options for the biggest cumulative effect. These are quick methods that give immediate relief before larger upgrades or permanent installs.
Layering the room to cut sound transfer further
My next step is treating the room itself so reflections and residual noise don’t undo door fixes. Small, reversible additions calm the whole space and make the sealed opening work harder for less.

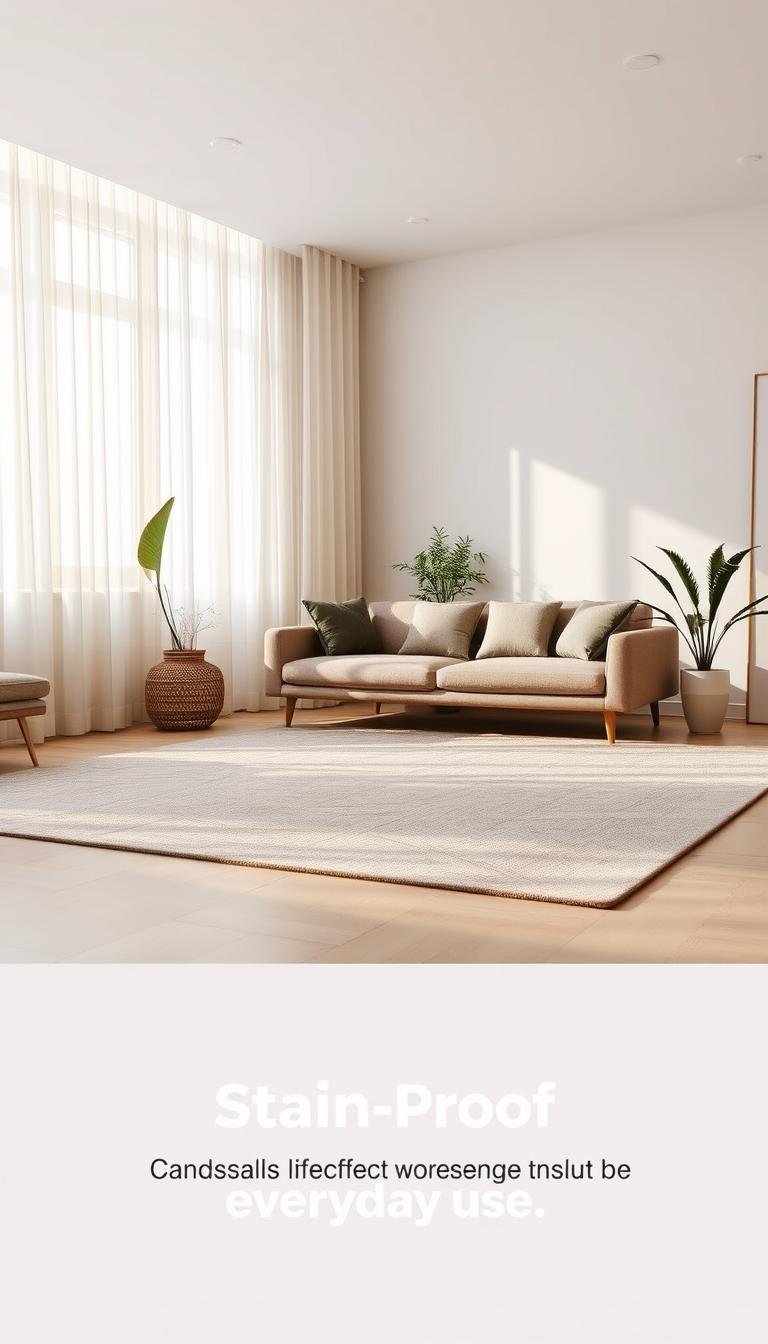
Rugs, pads, and upholstered furniture to absorb reflections
Add a plush rug with a dense pad near the doors to soften footfall and reduce echo off the floor. Place a sofa or ottoman nearby to absorb energy and make conversations feel quieter.
Bookshelves and fabric art to tame echoes near the entry
Push a full bookshelf against the shared wall and pack it with hardcovers to add mass and break sound paths. Hang a fabric tapestry or art panel near the door to catch early reflections without drilling permanent anchors.
White/pink noise placement to mask what remains
Use a noise machine or app placed between the door and your chair or bed to mask residual noise. Positioning the source between the opening and listener improves masking more than placing it at the far side of the room.
- Arrange plants in corners to scatter reflections and define the space.
- Keep pathways clear so sweeps and thresholds stay effective and safe.
“Layering treatments around the opening multiplies the effect of seals and panels.”
Budget tiers: good, better, best results for less
I sort options into tiers so I know which methods give the best bang for my time and money.
Good
Weatherstrip the perimeter, slide in a double-sided draft stopper, and hang a dense blackout curtain. These quick steps are low-cost and deliver clear noise reduction right away.
Better
Add a quality door sweep to close the large bottom gap, install a removable astragal at the meeting stile, and upgrade to thicker curtains. This combination raises mass and cuts transmission more than the basics.
Best
Use an automatic sweep, an adjustable perimeter kit with silicone gaskets, clear acrylic inserts for glass, and a removable acoustic panel on each leaf. This renter-safe setup gives the highest improvement without permanent changes.

“Start with the loudest wall-facing side first and add layers; each piece compounds the overall effect.”
| Tier | Main components | Expected noise reduction |
|---|---|---|
| Good | Weatherstrip + draft stopper + curtain | Low–Medium |
| Better | Door sweep + astragal + thicker curtain | Medium–High |
| Best | Automatic sweep + perimeter kit + insert + panel | High |
- I keep receipts and track results with a decibel app to see which way gives the best results per dollar in my home.
- When funds are tight, I start at Good and add layers later; that staged approach is the smartest long-term solution.
My weekend plan: tools, timeline, and checks
I set aside one afternoon to turn plans into action and keep the project simple and focused. With a clear sequence I finish useful installs in short time and leave the area tidy.
Tools I’ll need and what I can borrow
I gather basic tools: measuring tape, scissors, utility knife, pencil, screwdriver or drill, and cleaning cloths. I add the materials—weatherstripping, a sweep or automatic sweep, a draft stopper, and removable adhesive strips.
If I need extras, I borrow a cordless drill, a level, or a threshold saw from a friend. Automatic sweeps use a concealed spring mechanism, so a light tool kit and the right fasteners are enough.

Two-hour install flow and how I test for leaks after
I clean the frame so adhesives grab, then measure and cut perimeter seals. I apply tape with steady pressure to make sure contact is continuous.
I install the sweep—align it parallel to the floor and test smooth closing before final screws. On carpet I fit a threshold first so the sweep seals without snagging fibers.
- Hang curtains last, wide and high, with side returns so fabric hugs the wall.
- Run lights-off and candle tests to re-check for glow or flicker and tighten any weak spots around door edges.
- Listen during a known noisy time to confirm major leaks are gone; note follow-up tweaks.
“A short, ordered session lets me add meaningful sound control without risking the deposit.”
Conclusion
Wrapping up, I left the best mix of reversible fixes that deliver quiet for my space.
The core solution was simple: close leaks and add mass. Perimeter seals, a good sweep, and a dense curtain turned a noisy entry into a calmer part of my home without permanent work.
Clear window inserts kept daylight while the treatment cut mid‑high sound through glass. Rugs, bookshelves, and fabric art softened reflections and reduced energy loss from drafts.
If I need more, I can add an automatic sweep or removable acoustic panels to further soundproof the door leaves. The end result is less noise, more comfort, and a portable setup I take with me when I move.