What Are the Best Home Bar Ideas for Entertaining Friends?
I set out to make hosting easier and more stylish. Searches for “home bar ideas” jumped over 40% last year, and I get why: small gatherings feel personal and lively. Designer Elaine Santos shows a compact station off the kitchen can be a powerhouse. Martha Stewart proves a rolling cart can change a room overnight.
My approach blends design and function. I focus on quick wins like a tray-on-console or cart, plus higher-impact options such as built-ins, concealed appliances, and wine storage. Marie Flanigan’s luxe lounge inspires how jewel tones and cozy seating lift a space.
Placement matters: near the kitchen for easy ice and water, in the living area to keep conversation flowing, or as a separate lounge when I want drama. I plan for zones, glassware, and lighting so I never scramble mid-pour.
Key Takeaways
- Simple setups and carts offer fast, budget-friendly wins.
- Built-ins and concealed appliances deliver long-term value.
- Place bars near kitchens or living rooms based on flow.
- Style choices—metallic tile, high-gloss paint, mirrors—make a statement.
- Plan function first: zones, storage, and lighting reduce hosting stress.
My Quick-Start List of Home Bar Ideas That Work Right Now
I rely on a handful of smart moves to make any spot pour-ready. Start with a tray-on-console to save square footage: attractive bottles and tools sit on top while extras hide in the cabinet below. This keeps the surface tidy and makes drinks easy to assemble.
I love two-tier carts because the top acts as a side table and the lower shelf stores bottles, ice buckets, and tools. Corralling openers, jiggers, shakers, and citrus on trays helps me reset in seconds after guests leave.
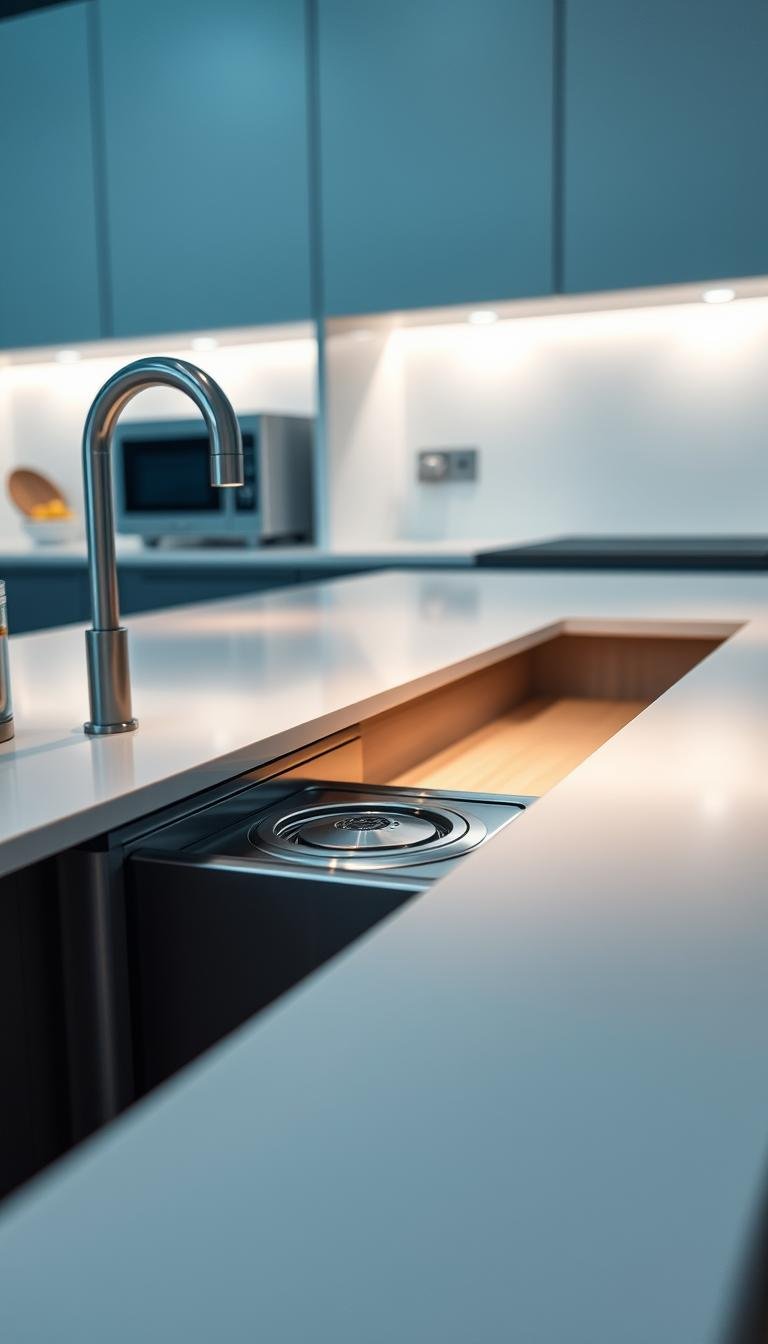
Place a compact station near the kitchen so ice runs and glass rinses are simple. Conceal a mini fridge or ice maker behind matching doors to keep the look furniture-like, not like a tiny kitchen.
- Quick upgrades: under-shelf LED strips, one standout pendant, and a bold finish for instant impact.
- Starter stock: versatile spirits and mixers I actually use to save money and storage.
- Zones: tools, glassware, spirits, and mixers so any guest can help themselves.
I keep cleanup painless with washable mats and trays that catch drips. This simple approach makes hosting feel like a part of daily life instead of a big production.

| Setup | Space Use | Key Benefit | Typical Cost |
|---|---|---|---|
| Tray-on-console | Small console or cabinet | Hidden storage, tidy surface | $50–$400 |
| Two-tier cart | Flexible, mobile | Double duty as side table | $80–$600 |
| Compact kitchen station | Kitchen-adjacent nook | Easy ice and prep access | $200–$2,500 (appliances) |
Small Spaces, Big Style: Mobile Carts and Mini Stations
A slim rolling cart gives a studio instant flexibility: it tucks away, then becomes a serving station in seconds. In my living room I treat a two-tier cart like a mover and shaker — the top works as a side table while the bottom holds bottles and an ice bucket.
I keep a tray on a console to show off a few favorite bottles and glassware while hiding extras in drawers below. Designers praise hidden-in-cabinetry setups that deliver a dramatic reveal when opened. That contrast makes a small room feel intentional.

Bar carts and tiered trays for studio living
I add locking casters to vintage pieces so they slide between spaces. Multipurpose glasses save storage, and one-third bottles, one-third glassware, one-third tools keeps the display tidy.
Hide-in-plain-sight consoles with tray-top barware
A clean tray setup looks curated: a decanter, a shaker, and a couple of statement bottles make a big impact without clutter.
Under-stairs nooks that become wine or cocktail corners
I convert awkward under-stairs space with floating shelves, a small counter, and a compact cooler. The result is a cozy corner that keeps pours and conversation close to the main room.
Built-In Beauty: From Wet Bars to Luxe Lounge Vibes
I design built-ins to feel like furniture, not appliances, so every detail earns its place in the room. That approach keeps the look refined and makes the space feel intentional.
Floating shelves, glass-front cabinets, and concealed appliances let me show off favorites while hiding the busy parts. I plan shelves at varied heights and add under-shelf LEDs so the bar area glows and stays useful at night.
To preserve a cohesive design, I hide a mini fridge and ice maker behind matching doors. Glass-front cabinets hold decanters and stemware; solid doors below keep extra storage out of sight.

- Wine storage: compact racks or transparent cases make collections part of the interior.
- Luxe accents: brass hardware and an antique mirror add lounge vibes.
- Seating: upholstered stools or a small settee invite lingering and complete the room.
I also plan ventilation and dimmable lighting so appliances run quietly and mood stays right. Built-ins keep footprint efficient by combining display, storage, and seating in one elegant statement for any home bar.
Themes That Spark Conversation
I build a bar’s personality around one striking element so the room feels curated. A clear theme helps guests connect and starts easy conversation.
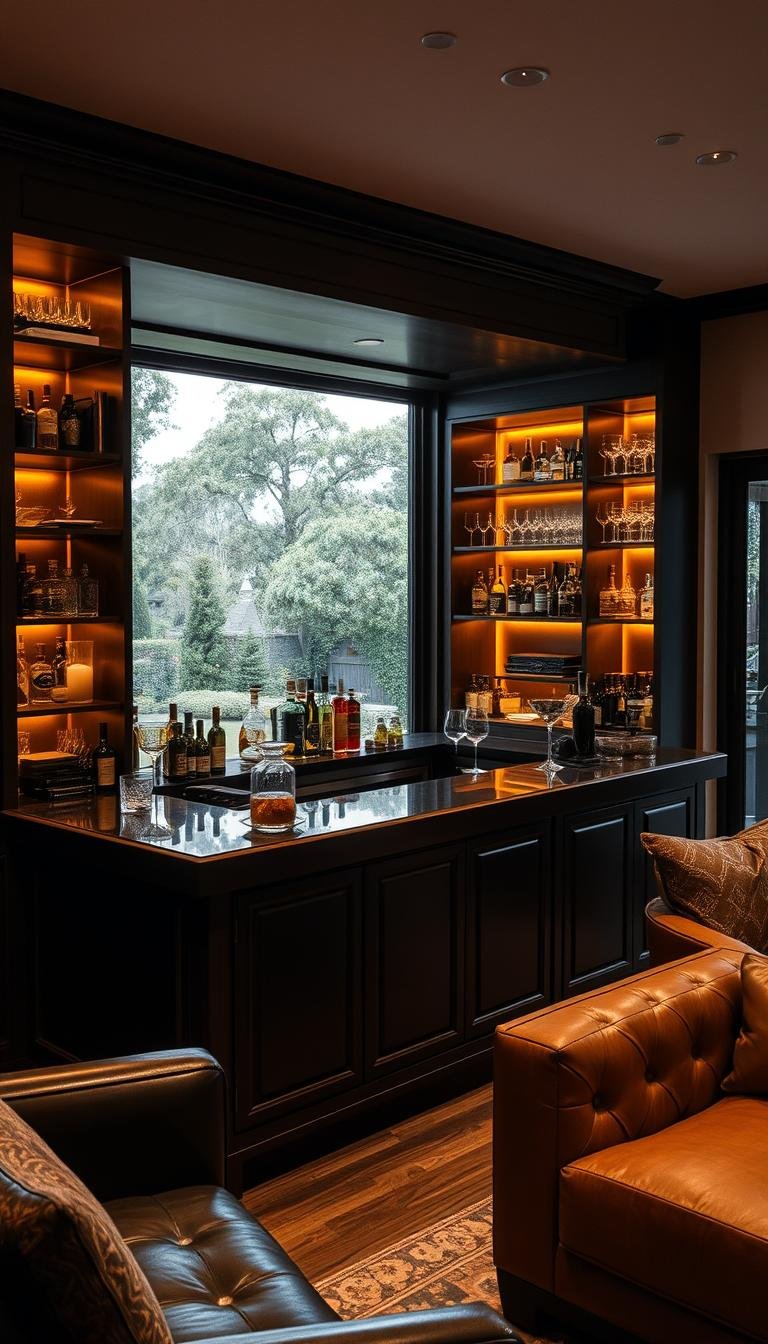
Speakeasy glam:
Speakeasy glam with moody finishes
I lean into dark paint, brass mesh, and an antique mirror backsplash to make a lounge-like vibe. Low, warm lighting and brass accents create intimacy and drama.
Coastal chic:
Coastal chic with mural backdrops
Custom mural panels or wavy wood details bring a breezy feel. Weathered textures and pale color palettes transport people to a seaside room.
Rustic-meets-glam:
Rustic-meets-glam with stone and glass
I pair stone or limewash walls with verre églomisé or mirror to add sparkle without losing texture. The mix gives depth and keeps the space lively.
Personal passions:
Passion-driven displays that tell a story
I add travel finds, equestrian art, or a curated wall so the bar reflects my life. Keep the palette tight: one hero color, one metal, and a tactile surface to avoid clutter.
- I use themed glassware sparingly to nod to a concept.
- I match storage details—leather pulls or brass trims—to support the theme practically.
- I anchor conversation with a focal element that photographs well.

Materials and Finishes That Elevate Your Bar Area
Bold cabinetry and luxe surfaces transform a spare corner into a place people want to linger. Choice of finish sets mood and makes the area feel intentional within a small interior. I pick materials that balance beauty with easy upkeep.
High-gloss paint in a saturated color modernizes older rooms and pairs well with kitchen appliances. Metallic tile or reflective wallcoverings bounce light so a shallow niche reads larger. I often add an antique mirror backsplash to amplify shimmer and depth.
High-gloss paint, metallic tile, and reflective wallcoverings
- I choose high-gloss paint for depth and wipe-clean durability, matching an appliance or accent tone for cohesion.
- Metallic tile mimics hotel-bar sparkle; reflective coverings (like Zoffany-style papers) add texture without heavy grout lines.
- Open shelves highlight select glassware and bottles while closed storage keeps clutter away.
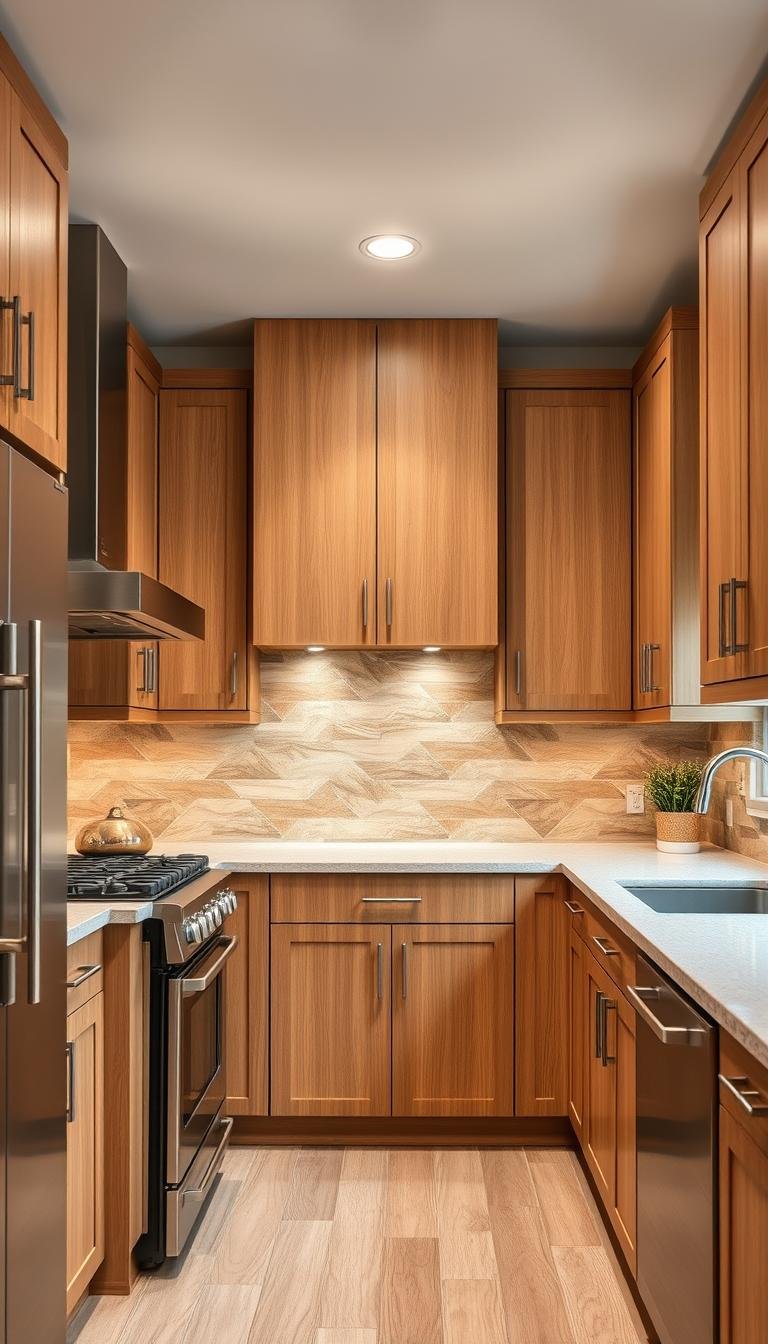
Statement stone counters and rich wood millwork
I specify semi-precious quartz slabs with a deep front edge to resist chips. African olivewood millwork and bronze details warm the palette and give a furniture-like feel.

| Material | Benefit | Maintenance |
|---|---|---|
| High-gloss paint | Depth, wipe-clean surface | Wipe with mild soap |
| Metallic tile / mirror backsplash | Light bounce, luxe shimmer | Non-abrasive cleaner |
| Quartz slab counter | Durable, statement surface | Daily wipe; periodic seal if needed |
| Olivewood millwork & bronze | Warmth, furniture-like framing | Oil wood occasionally; polish metal |
Storage and Display That Make Hosting Effortless
I choose storage that keeps my collection visible but never messy. Glass-front cabinets protect delicate stems and keep pretty glassware in view. Open shelves let me spotlight a few favorites while closed drawers hide extras.
Practical choices make service smoother. I fit pull-out drawers in lower cabinets so tools, linens, and backup bottles slide out when I need them. Soft-close hardware and interior lighting make nightly use feel polished.
I group bottles by type and height for quick scanning. Everyday spirits sit up front; special reserves stay tucked away. Labeled bins hold syrups, bitters, and garnishes so resets are fast.
I place the bar near the kitchen so overflow items—cutting boards, pitchers, and serving platters—have an obvious home. A strict “display cap” keeps only top shelves decorative while lower spaces stay functional.

- I mix glass-front cabinets and open shelves to reduce dusting and keep a curated look.
- Pull-out drawers prevent rummaging and speed service during gatherings.
- Careful shelf depth ensures bottles fit without wasted space in tight rooms.
| Feature | Benefit | Where to place |
|---|---|---|
| Glass-front cabinets | Visible, dust-free glassware | Eye-level walls near prep zones |
| Pull-out drawers | Fast access to tools and backup bottles | Lower cabinet bays |
| Floating shelves + lighting | Curated display, clear sightlines | Top shelf for showpieces |
| Labeled bins | Organized small supplies | Closed storage near kitchen |
Lighting Magic: Set the Mood and Make It Shine
A thoughtful light plan lifts a small nook into a warm, inviting spot where guests linger. I think about how each layer—task, accent, and ambient—works together. This helps the interior shift smoothly from prep to party.
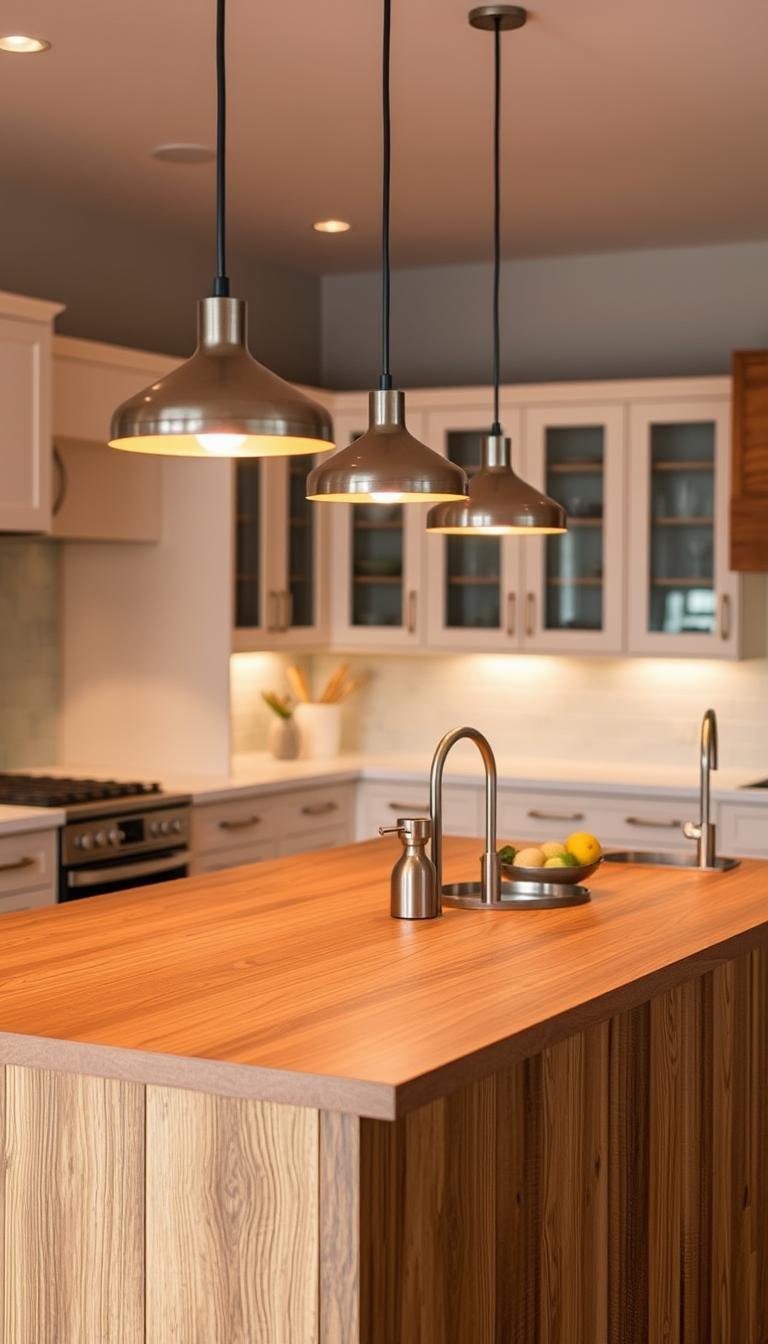
LED strips stay cool and energy-efficient. I install them under shelves so bottles and glassware sparkle without heating up the bar area. Paired with dimmers, they brighten for mixing and soften for late-night conversation.
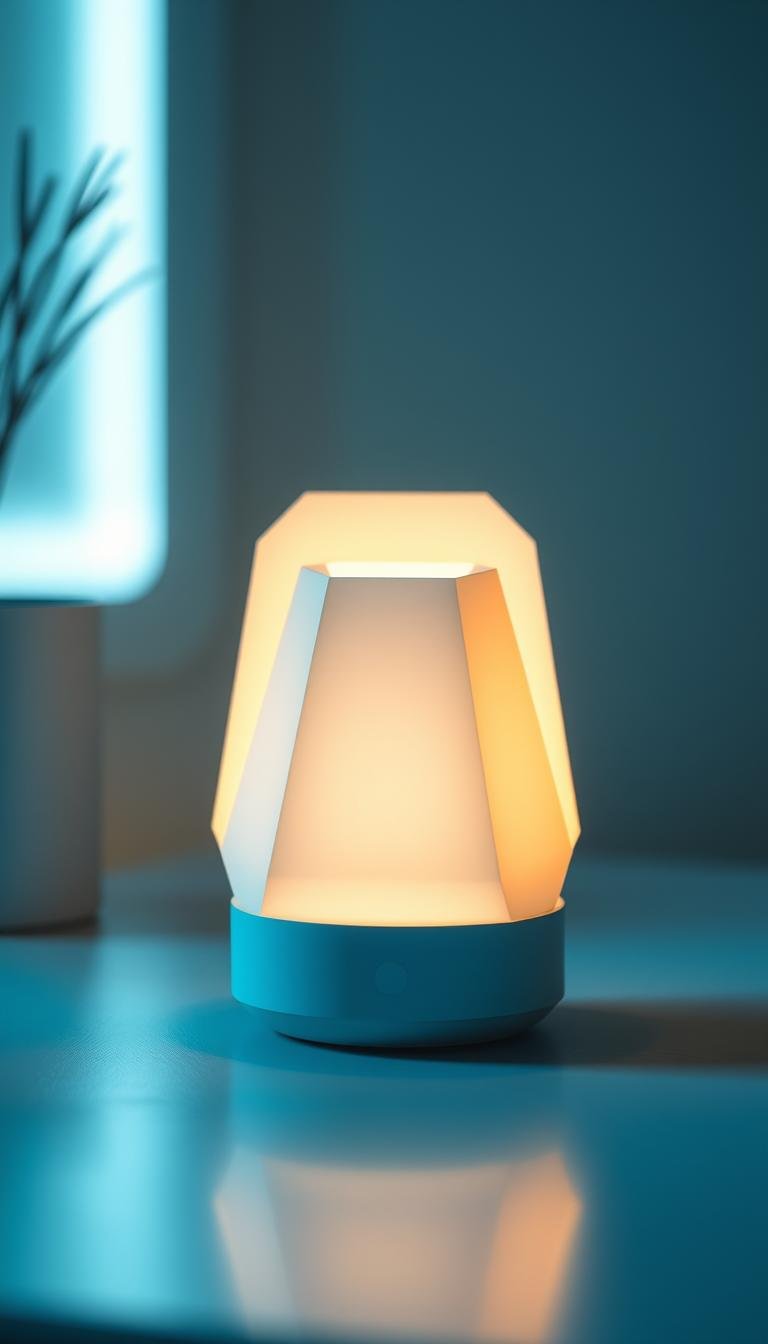
I treat pendant fixtures like jewelry for the room. A crystal pendant reads glam; a matte metal shade reads industrial. Either way, a single hanging light becomes a focal point and doubles as task lighting over the station.

Mirror and Antique Mirror Backsplashes
Antique mirror backsplashes bounce light, deepen a wall visually, and wipe clean easily. Designers use moody reflective finishes to get a romantic, restaurant-like glow without glare.
- I place dimmers and switches within reach so I can adjust mid-service.
- I favor warm bulbs that flatter skin tones and make the space feel welcoming.
- I match metal finishes across fixtures and hardware for a cohesive style.
| Feature | Benefit | Quick Tip |
|---|---|---|
| LED under-shelf strips | Cool, even accent light | Use warm white (2700–3000K) and dimmers |
| Pendant fixture | Task + focal point | Center over prep surface; match metal to hardware |
| Antique mirror backsplash | Depth and reflection | Install behind open shelves for sparkle |
What Are the Best Home Bar Ideas for Entertaining Friends? My Top Picks by Use
I split stations by use so morning espresso and evening cocktails never collide. This keeps traffic flowing and makes service feel effortless when guests arrive. Each setup matches daily habits to design choices.
Coffee stations streamline mornings and double as evening treats. I add filtered hot/cold taps, an espresso machine, and a small fridge for milk and affogatos. Slim under-cabinet lighting helps early brews without waking the whole house.
Coffee stations that streamline mornings and evenings
I place mugs and cups up top, syrups in a pull-out, and cleaning supplies tucked below. A ready espresso shot and milk fridge make both rush hour and dessert easy.
Wine-first setups for elegant dining rooms or pantries
Wine-first bars pair a mini fridge with floating shelves for stemware and decanters. I prep tasting notes for a casual flight so dinner feels curated and relaxed for guests.
Family-friendly bars with mocktails, soft drinks, and espresso
For family use, I stock soft drinks, mixers, and a coffee maker so everyone participates. A single signature cocktail tray (shaker, jigger, citrus) stays ready while mocktail supplies sit on a lower shelf for kids.

- Quick-service layout: mugs up top, syrups in a pull-out, trash nearby.
- Finish match: rugged surfaces for daily stations; luxe stone for occasional displays.
- Storage sizing: more cans and mixers for family use; more bottles and display space for collectors.
| Use | Key Components | Best Finishes | Service Tip |
|---|---|---|---|
| Coffee station | Espresso, taps, small fridge | Matte, durable counters | Under-cabinet lighting for early hours |
| Wine-first | Mini fridge, decanters, shelves | Mirror or stone backsplash | Prep tasting notes for flights |
| Family-friendly | Soft drinks, mixers, coffee | Scratch-resistant laminate | Low shelves for kids’ access |
| Hybrid quick-serve | Tray with shaker, jigger, citrus | Mixed materials to hide wear | Trash and recycling close by |
Find the Perfect Spot: Living Room Nooks to Butler’s Pantries
A shallow nook can become a polished pour spot with a small counter and styled shelves. I like to make the bar feel like part of the living room by matching pastel millwork and built-in shelving. This keeps the area cohesive and photo-ready.
Living room alcoves and styled shelving that blend in
I tuck a bar into an alcove with furniture-grade finishes and open shelves up top for pretty bottles. Bulk items live behind closed doors so the display stays tidy.
Kitchen-adjacent bars for easy ice, prep, and conversation
Placing a bar next to the kitchen lets me run ice and rinse glasses fast while staying in the flow of conversation. I route power discreetly for lighting, a mini fridge, or an espresso machine.
Butler’s pantry and bedroom “midnight kitchen” conversions
Butler’s pantries make great compact stations with floating shelves, a small counter, and a fridge for daily use. For late-night drinks, I sometimes add a “midnight kitchen” near a bedroom so guests grab water or a nightcap without crossing the house.
- I map clearances so doors and drawers never block a walkway.
- I use soft-close hardware and felt pads to control acoustics.
- I pick a durable counter in heavy-use parts and match finishes to the living palette.

| Spot | Key feature | Quick tip |
|---|---|---|
| Living room alcove | Styled shelving | Blend millwork with room palette |
| Kitchen-adjacent | Easy ice and prep | Route power and keep counters durable |
| Butler’s pantry | Floating shelves + mini fridge | Hide bulk behind panels |
Budget, Renter, and DIY: Creative Ways to Build a Bar
A smart upcycle can turn a forgotten basement cabinet into a stylish pour station overnight. I scout basements and estate sales for sturdy pieces I can refinish. This saves money and keeps waste out of the landfill.
For renters and budget builds, mobility and reversibility matter. I add locking casters to vintage credenzas and drill simple pull-out trays into TV stands. Removable wallpaper gives a designer touch I peel away when I move.
Repurpose vintage cabinets, TV stands, and tool carts
I repaint a credenza, swap hardware, and fit hidden shelves so bottles and glassware nest neatly. A converted tool cart makes a rugged, mobile bar that holds ice, mixers, and tools for patios or small spaces.
Renter-friendly suitcase bars, removable wallpaper, and casters
Wall-hung suitcase bars are renter-safe: sturdy hinges and interior straps secure bottles for a dramatic, damage-free feature. Locking wheels and pull-out dividers keep service smooth when guests arrive.
- I hunt estate sales for solid pieces to refinish into a bar on a budget.
- I line cabinet interiors with peelable paper for a quick designer touch.
- I keep a small toolkit (drill, level, screws) so upgrades take minutes.
- I add leather pulls or a stained top for a personal, warm touch.

| Repurpose | Best Use | Key Upgrade | Why I do it |
|---|---|---|---|
| Basement cabinet | Stationary home bar | Refinish + mirrored back | Low cost; solid storage |
| TV stand / credenza | Display + hidden storage | Casters + new hardware | Looks custom; mobile |
| Tool cart | Outdoor or patio bars | Locking wheels + trays | Rugged, inexpensive |
| Suitcase wall bar | Renter-friendly feature | Hinges + bottle straps | Damage-free, compact |
My way is simple: start with one standout upgrade—bold paint or a mirror—and build storage around it. That stretch turns a small space into a reliable pour spot that feels intentional and personal.
Tools, Stock, and Organization I Never Host Without
Smart placement of tools and a tiny fridge changes how smoothly I host. I set up a compact kit so I can mix quickly and keep conversation going.
Essential toolkit: I keep a stainless shaker, jigger, dependable wine and bottle openers, a bar spoon, citrus press, muddler, and a fine-mesh strainer within arm’s reach. A simple wine aerator and a rubber bar mat finish the core set.
I protect counters and speed cleanup with a small bin for peels and spent garnishes. Drawer dividers stop tool tangles and make a neat, repeatable routine.
Zone storage and rotate like a pro
I label zones so anyone can help: spirits left, mixers right, tools and linens in a top drawer, and glassware on shelves at eye level. A mini-fridge sits where guests can grab sparkling water or white wine without crowding my mixing area.
- I stock a compact, reliable tool kit for consistent pours and fast service.
- I rotate back stock monthly—daily bottles up front, special spirits stored deeper.
- I standardize with a jigger and keep a cutting board and knife nearby for citrus and herbs.
| Feature | Benefit | Placement tip |
|---|---|---|
| Drawer dividers | Neat tool access | Top drawer near prep surface |
| Mini-fridge | Quick cold grabs | Side access so it doesn’t block work |
| Labeled bins | Guest-friendly service | Front-facing shelves or doors |
The way I design storage reflects how I use the station, so setup feels natural and guests enjoy helping themselves without interruption.

Make It Guest-Friendly: Interactive Touches That Wow
A welcome bar that invites hands-on mixing makes any gathering feel lively and relaxed. I design small stations so guests help themselves and start conversation without waiting on me.
Chalkboard menus and recipe cards
Seasonal chalkboard menus set a boutique tone and let me rotate specials. I leave simple recipe cards so guests can mix cocktails at their pace.
Tasting flights, garnish bars, and personalized coasters
I set tasting flights—wine, whiskey, or amaro—with short notes that spark curiosity. A garnish bar with citrus wheels, herbs, olives, and cherries lets people customize drinks easily.
I scatter personalized coasters with local places or travel spots to prompt stories among friends.
Comfortable seating and smart traffic flow
Seating matters: stools need 24–26 inches between them and should sit 10–12 inches below the counter for comfort.
I map traffic so no one blocks the sink or fridge, add warm lighting, and keep a small sanitizer station and extra napkins within reach.

| Feature | Why it works | Quick spec |
|---|---|---|
| Chalkboard menu | Seasonal change and guest autonomy | Easy erase slate; recipe cards on clip |
| Tasting flights | Encourages discovery and conversation | 3–4 sample pours with short notes |
| Seating spacing | Comfort and easy movement | 24–26″ between stools; 10–12″ lower than counter |
| Sanitizer station | Thoughtful, modern touch | Small pump near prep area |
Conclusion
Conclusion
My final note: a small, well-planned station can change how often I host and how I feel when guests arrive. I aim for a space that fits daily life and still reads like intentional design.
I pick a corner or living room wall that serves routine habits. Then I add shelves, smart storage, and layered lighting—LED strips, a pendant, and dimmers—so the area shifts from prep to cocktail hour in seconds.
I keep bottles and glassware curated, stock versatile wine and a few go-to spirits, and add one playful touch—a chalkboard menu or tasting flight—to make the spot social. With clear zones and a compact counter or basement nook, the bar becomes a favorite part of my home that grows with life.